Brick Slips Delivered UK Wide!
Why Choose slipsfromstock.com to purchase your brick slips?
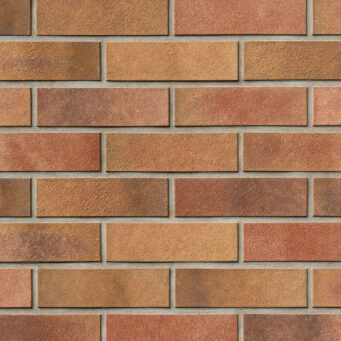
View our full range of Brick Slips below!
All Of Our Brick Slips Are Cut From Real Clay Bricks From Europes Leading Brick Factories.
All our Brick Slips are suitable for use with log burners, stoves, kitchen hobs and, feature walls.
All our brick slips are suitable for Internal or External uses, and are fully frost resistant!
All our brick slips have a lifetime guarantee.
Require a sample? Order Free Samples head there to get your completely free of charge sample brick slips.
Brick Slips is what we do and as the largest supplier of Brick Slips we strive to ensure our in-house real clay brick slips are the best on the market, All of our Brick Slips are cut using market leading manufacturing equipment insuring a consistent and quality finish. We quality control our brick slips production to the highest standards. Choose from over 30 different styles of brickslips and, have them delivered any where within Mainland UK.
other RANGEs
Brick Slips
Slips From Stock are the largest supplier, stockist and manufacturer of Brick Slips UK is what we do and as the largest supplier of brick Slips we strive to ensure our in-house real clay brick slips are the best on the market, All of our slips are cut using market leading manufacturing equipment insuring a consistent and quality finish. We quality control our brick slips production to the highest standards.
Our Brick Slips are unrivalled, we are able to the best and most sought after brick slips in the industry and with market leading customer service. With your purchase of Brick Slips you can expect, Free samples, Next Day Delivery On All Brick Slips, Full range of Accessories Available. As well as straight brick slips we also offer, samples, corners, headers and stretches to allow you to cover all areas of your project without compromise.
For those seeking a reclaimed finish, our brick slips offer all the texture and appearance you would expect to find with real brick and this is thanks to our manufacturing technique of cutting real bricks to give an unrivalled finish. Our brick slips provide a true brick wall look and finish.
“Ordered brick slips twice now, first time was to do a feature wall in our new kitchen, I have never laid a brick slip before so with the bricks I ordered the beginners kit, delivery was bang on time and due to my miscalculation we had a few boxes left over so decided to brick a wall in our extension, again delivery was spot on.”
Matt O’Keeffe
“Ordered twice now, first time was to do a feature wall in our new kitchen, I have never laid a brick slip before so with the bricks I ordered the beginners kit, delivery was bang on time and due to my miscalculation we had a few boxes left over so decided to brick a wall in our extension, again delivery was spot on.”
Free Samples – All customers can order four completely free sample panels of our brick slips. Each panel contains up to 6 pieces laid out in a brick bond pattern to allow you to to feel and see the brick slips.
Next Day Delivery (when available, our brick slips can be ordered for next day delivery)
All orders of Brick Slips over 15m2 (or 30 boxes) qualify for free delivery.
25 Year Warranty! Yes you heard us right! all customers ordering our brick slips and using our accessories to compliment them are entitled to a 25 Year Warranty!
Own brand fitting aids including brick slip adhesive, brick slip mortar, tools and applicators
Live Chat 7 days a week, friendly telephone contact and quick email support for all of your brick slip related queries!
Types Of Brick Slips We Offer
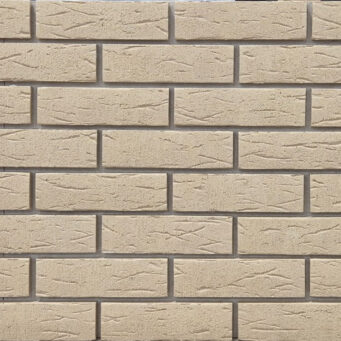
Our online range includes Handmade Brick Slips such as our Toulouse Brick Slips which are a clay semi-smooth brick slip, hand cut and pressed at a thinner 15mm.
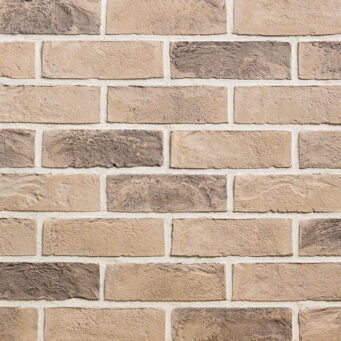
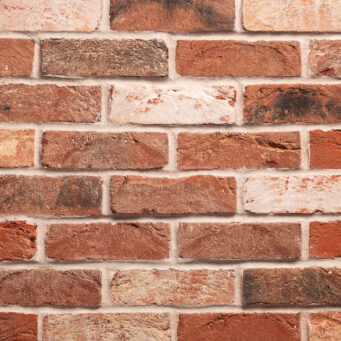
Reclaimed Brick Slips – Most of our brick slips are reclaimed but with a twist, rather than taking the brick slips from reclaimed hard to come by bricks, we import our brand new weathered bricks. This allows us to offer a continuation of stock! Our reclaimed brick slips are created in house using state of the art automated cutting equipment to cut the face from the brick thous providing the best brick slips.
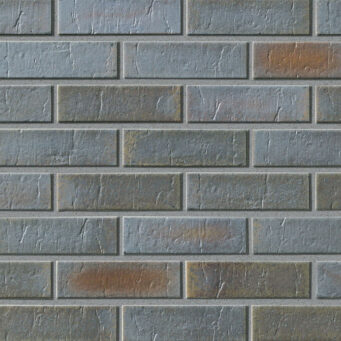
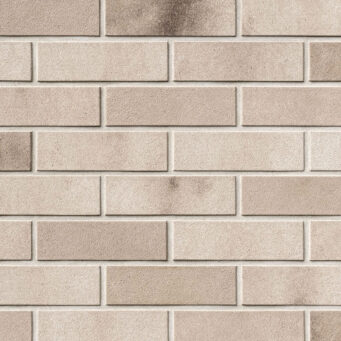
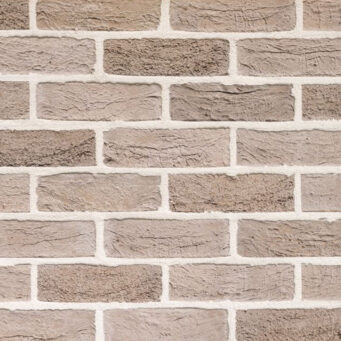
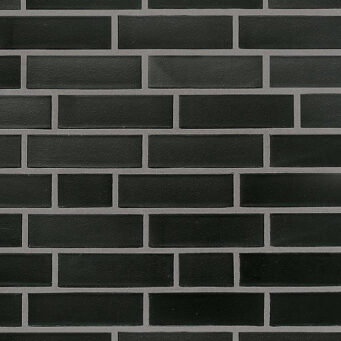
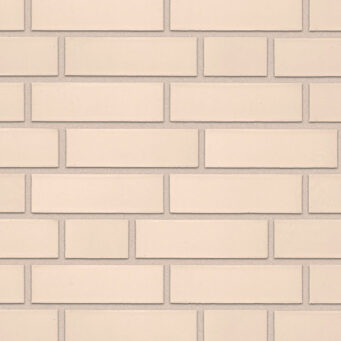
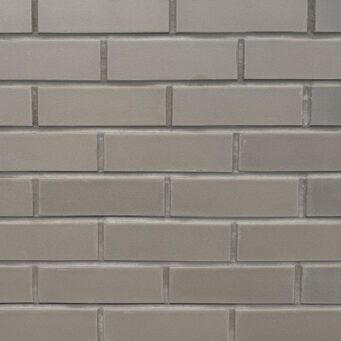
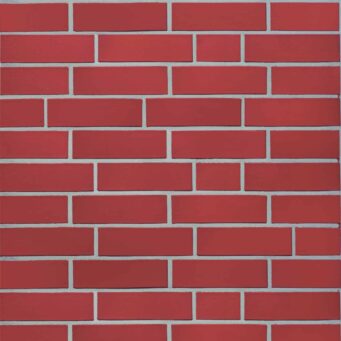
Modern Brick Slips – We also offer a few variations of more modern brick slips to include colours such as black brick slips, grey brick slips, beige and even blue brick slips.
Uses For Our Brick Slips
All of our brick slips can be used for almost any purpose this includes (but is not limited) to the list below:
Fireplace Brick Slips – Our Brick Slips are fire rated A1 which means they are non combustible
Log Burner Brick Slips – Fire rated A1 our Brick Slips are suitable for the use with log burners.
Kitchen Brick Slips – Thanks to our sealer our brick slips can be used in the kitchen without being stained.
Internal Brick Slips – Any internal project can benefit from the use of our brick slips.
External Brick Slips – Completely frost proof, our brick slips are perfect for external use including for cladding your home, office or external walls.
Feature Wall Brick Slips – No matter the feature wall your creating our brick slips are perfect!
All our <strong>Brick Slips</strong> are suitable for Internal and external projects.
Brick Slips – Information And Answers
Over the last 4 years we have developed an extensive news/blog section regarding our brick slips with topics covering everything from who to hire, what do brick slips do, how are they made and everything in between. Our Brick Slips and the information we provide are second to none! Some of our most popular Brick Slip articles can be seen below.
In addition to our in depth articles, we also offer plenty of installation hints and tips including our installation manual for Brick Slips which can be found below!
Although many others sell our brick slips on our behalf, coming directly to Slips From Stock is the best way to purchase your brick slips at the best price. We are the original importers and exclusive suppliers of the below brick slips
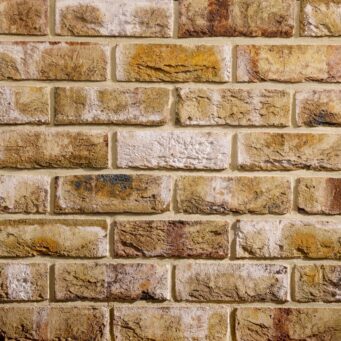
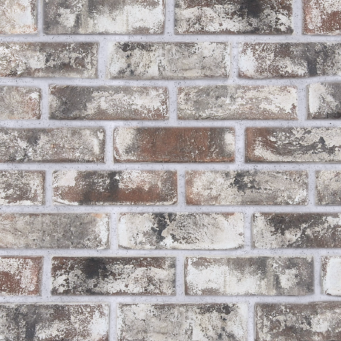
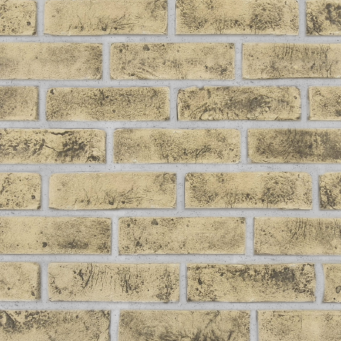
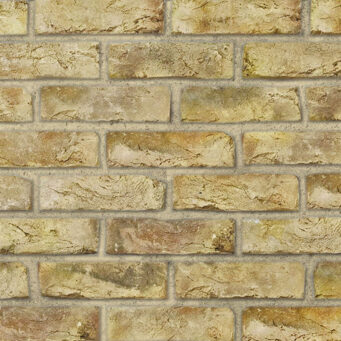
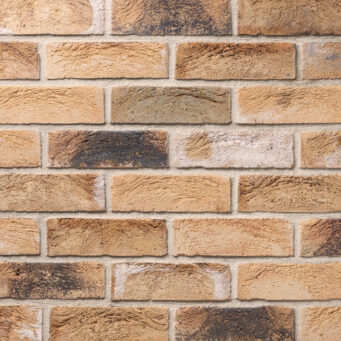
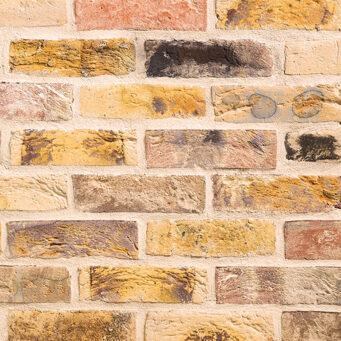
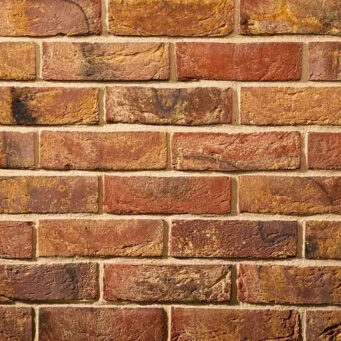
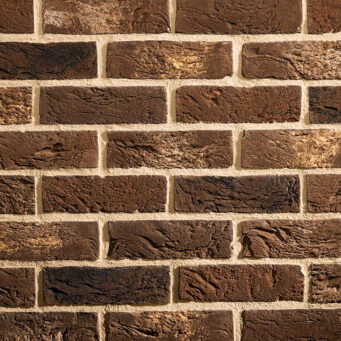
London Weathered Yellow Brick Slips
These brick slips are constantly at the forefront of replication from alternative suppliers but, we are the original sellers of the best London brick slip there is! The London Weathered Yellow!
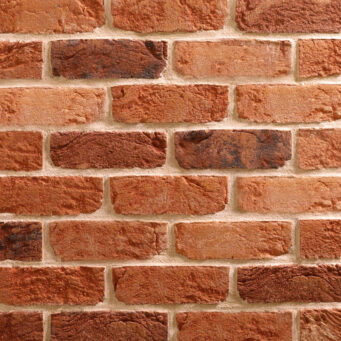
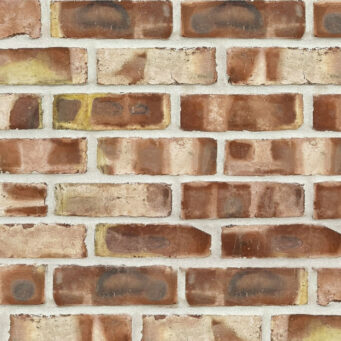
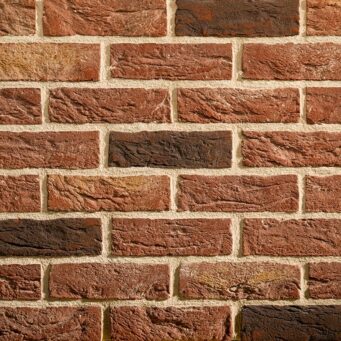
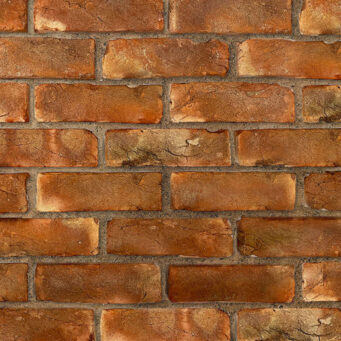
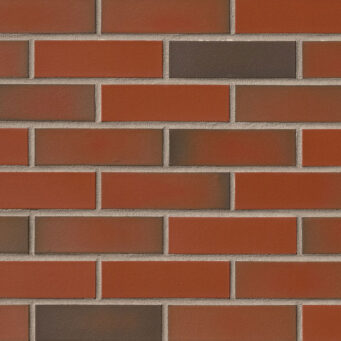
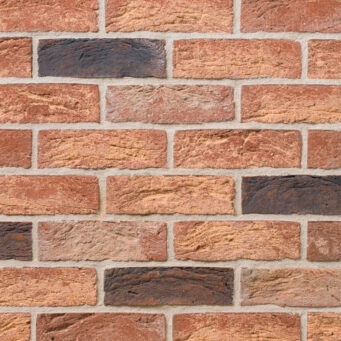
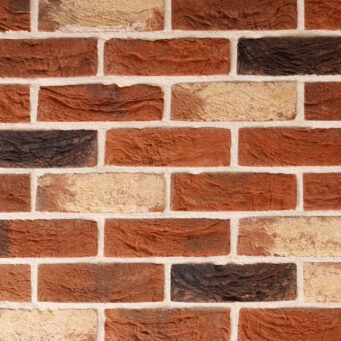
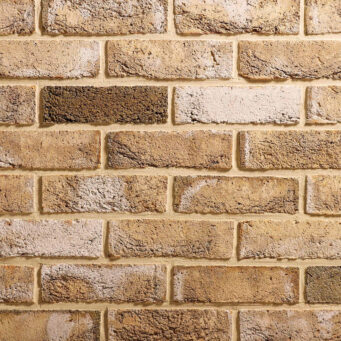
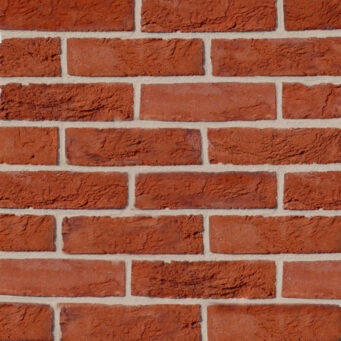
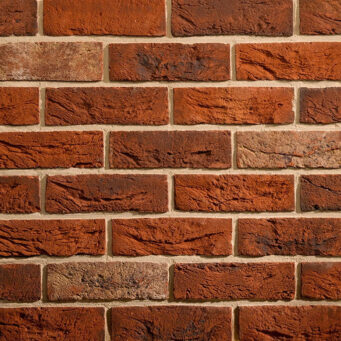
Old Coach House Brick Slips
The Old Coach House Brick Slips are probably one of the most recognised and used brick slips in the UK! As the exclusive importers of this magnificent brick, we also have the rights to the brick slips. This brick slip has long been our best selling red brick slip!
How Are Our Brick Slips Made?
Unlike any others, We manufacture all of our Brick Slips in house, and boast the UK’s largest stock of brick slips, with a fast and reliable pallet delivery service. Unlike others who may buy their brick slips in using a brick importer or take old reclaimed bricks and cut them, our parent company TBS cladding is a direct brick importer supplying us with millions of bricks each month to allow us to produce the best brick slips in the UK. As well as the quality being second to none, these brick slips are the most well known brick slips in the industry and as the brick itself is so well used, our brick slips are used to match existing brick work of the last century!
Free Sample Brick Slips
Slips From Stock are incredibly proud to boast, that we are the ONLY provider of 100% free Brick Slip Samples. As we believe our brick slips are the best and of the highest quality on the market, We believe all of our customers should have the opportunity of seeing them and feeling them. This is why you can order up to two completely free sample panels from our website with no cost associated and free delivery in just 3-5 working days!
Our sample panels perfectly display the Brick Slips we offer and their quality. Each sample board contains 4 full size bricks and 4 headers laid our in a brick bond fashion.
As we continue to grow so do our brick imports this allows us to continue to expand our brick slip range offering the most designed designs on the market with multiple colours, textures, sizes and depths. As well as our incredible range of Brick Slips, we also offer services including:
We get asked a lot of questions about our brick slips, how they are made, what do they do etc etc etc. Below is a brief delve in to our most popular questions.
How Are Brick Slips Made?
We pride ourselves on offering our customers the best Brick Slips and service possible. This is the precise reason we only offer brick slips made from genuine clay bricks! Alternatively, we could offer slips made from cheaper material such as acrylic. However, acrylic brick slips do not offer the same genuine brick wall feeling you get from clay Brick Slips. To make our reclaimed brick slips we cut the two faces off of a real brick. This then leaves you with your two Slips. No two bricks are the same nor are two of our slips. Furthermore our brick slips are handmade. This helps to keep them from all becoming uniform which takes away from the real brick wall illusion.
Can I Install Brick Slips Myself?
Installing Brick Slips is far from rocket science. If you follow our installation guide to a tee, we are confident that you will be able to install them yourself. The key to it is the preparation and knowing your limits. It’s of paramount importance that your surface is dry and clear of any debris before you begin installing. This gives your adhesive a good surface to work with. It also eliminates the risk of your slips falling off the wall. In terms of knowing your limits, the adhesive we supply is rapid setting. This means if you prepare too much at once, you risk it setting before you even get the chance to use it to apply your brick slips to your wall. As long as you take your time with the whole process, I am sure you’ll find installing your Brick Slips to be a walk in the park!
Is Brick Slip Aftercare Necessary?
Of course, you are free to decide whether or not you want to provide your Brick Slips with any aftercare at all. However, we would highly recommend it especially in areas that will experience high traffic. This includes areas such as your kitchen, bathroom and external projects. One of the great things about Brick Slips is how long lasting they are, but if you choose not to provide them with proper aftercare then you may find they don’t last as long as you’d like.
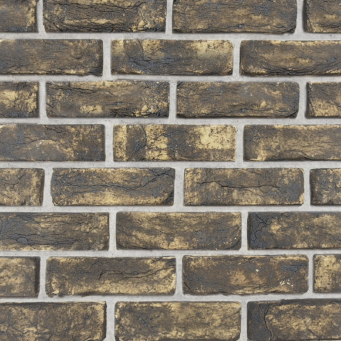
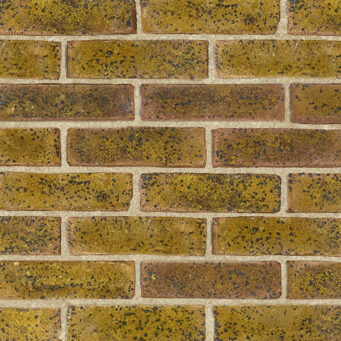
Unfortunately, Brick Slips are not immune to attract dust and dirt and if you leave your slips unsealed these can be quite difficult to clean off. Especially on brick slips such as our Euphoria Brick Slips as if you allow too much dust to gather you may find yourself brushing away some of the gold dust that is part of the character of the brick slips.
Some Of The Most Popular Uses Of Brick Slips Can Be Seen Below
Brick Slips – In The Bathroom
Using Brick Slips in the bathroom is becoming increasingly popular, the urge to create a personal space that reflects the individual living in that home. Brick slips offer a variety of personality and colour that allows you to create perfect bathroom aesthetics. Bathroom Brick Slips offer a dramatic change in the bathroom, it creates its own aesthetic to create a modern look based on your needs. Bathroom brick slips, in particular, offer a wide variety of designs that can be intermixed to create various looks. Some bathroom brick slips provide a sleek look, if you want a modern bathroom, whereas, others offer a rustic texture that provides a genuine brick finish.
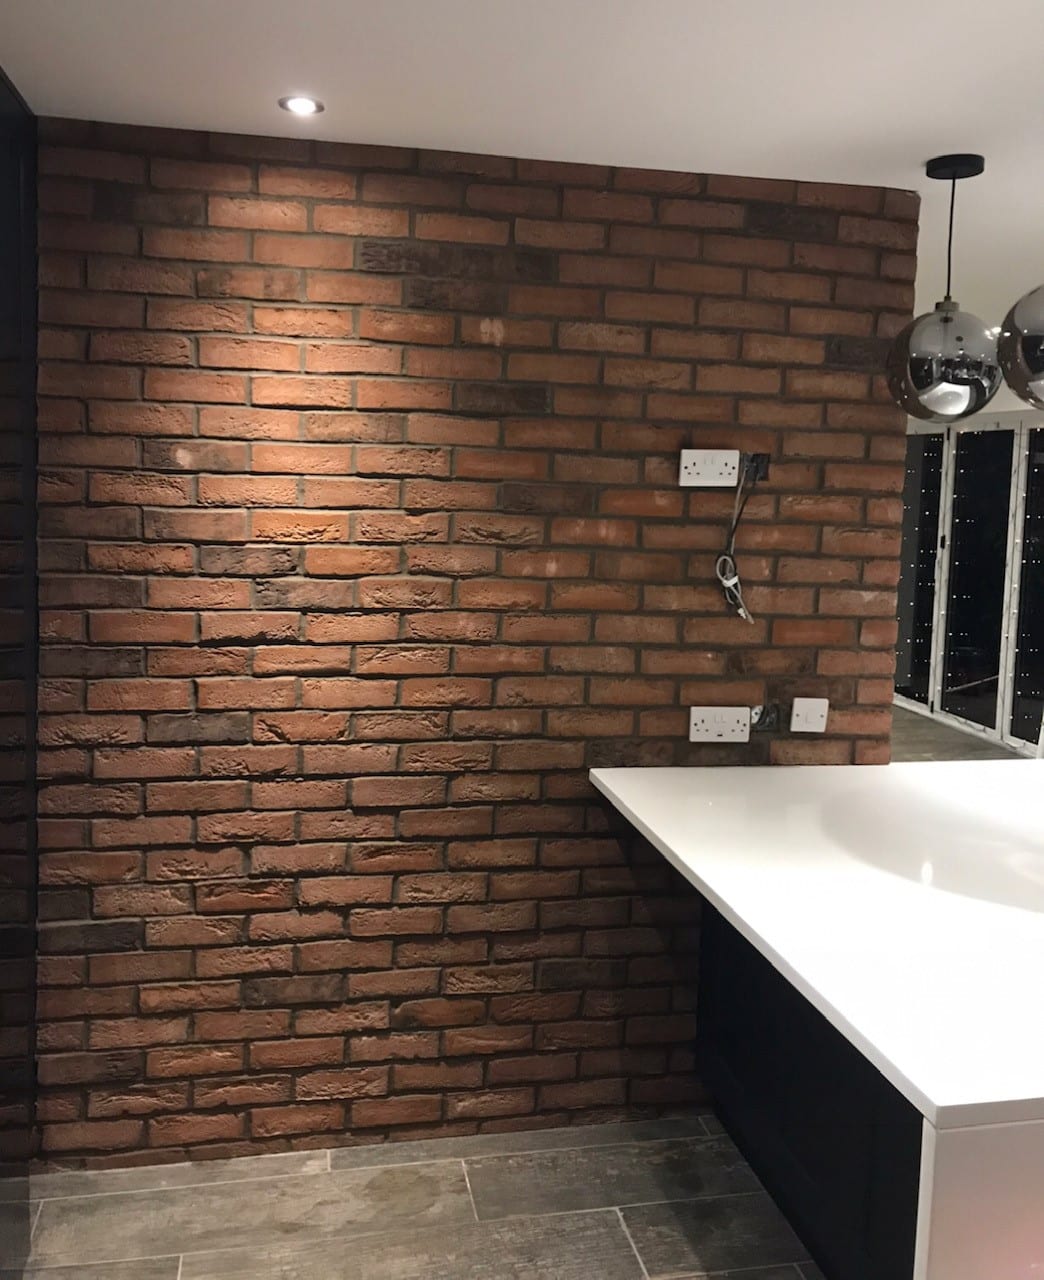
Brick Slips – In The Kitchen
When it comes to practicality, the kitchen is one of the spaces in the home where it becomes a necessity. After all, it’s a room that is heavily used and that means that it is susceptible to dirt and grime from spills and splatters. What this means is that Kitchen Brick Slips are the ideal choice although they offer more than just practicality. In fact, when you opt to install brick slips in the kitchen, you will be adding a twist of modern and traditional aesthetics to your kitchen.
Kitchens have to be functional but now, more and more people are looking to create a kitchen that is more than just a usable space. It has become the hub of the home that benefits from exceptional design and a range of trends that change year on year. However, if you are looking for something that is smart, modern, traditional, desirable and functional then you’ll want to consider Kitchen Brick Slips There is no denying that there is a huge choice available when it comes to Kitchen Brick Slips.
Take a look through our range and you’ll see that there is a range of finishes and styles available. Therefore, you can now choose a brick slip that not only offers the practicality you desire but also something that fits in with your design. If you have a modern kitchen then you can opt for greys and whites. Should your kitchen have more of a traditional feel then there is no shortage of options available to you because we have traditional Kitchen Brick Slips to suit the need of everyone!
Internal Brick Slips
With all of our Brick Slips, they can be used for all internal projects including feature walls, window reveals, floors, fireplaces and log burners. Our brickslips are cut from real clay brick imported by us for you! This means our brick slips have the same characteristics of brick offering frost protection and heat resistance.
External Brick Slips
As above, our full range of Brick Slips can be used externally, many of our customers opt for our brick slips for exterior cladding such as extensions, complete house facades and summer houses. Due to the nature of our brickslips there are no limitations on their uses. They can be used in the coldest and hottest climates without restriction.
Share this page
Scroll for more information
We use cookies to improve your experience, measure site usage, and support marketing.
Privacy Policy.